
Blender Keyframe Rotation on Moving Object YouTube
A Keyframe is simply a marker of time which stores the value of a property. For example, a Keyframe might define that the horizontal position of a cube is at 3 m on frame 1.
Blender 2.80 Tutorial How To Move Keyframes In The Timeline. YouTube
Keyframes For the active and selected objects, keyframes are displayed as diamond shapes. You can click to select one at a time, or select several by holding Shift , or by dragging a box around the keyframes. You can then move single keys by dragging them, and you can move multiple keys by pressing G and scale them with S.

Blender 2.8 Keyframe Tutorial YouTube
Keyframes are the building blocks of animation that define an object's movement over time. In Blender, keyframes can be added to any object and can control anything from a simple movement to complex animation, making it an essential skill for any Blender user.

Auto Keyframes In Blender Blender Artists
There are two ways to move the object. The first (for Newbies) won't adjust it's origin point but will allow you to move the object around and keep it's animations. Make sure the timeline cursor is at frame 1. ( CTL-SH-Down arrow) Set the object's origin point to geometry or center of mass. (press T) Set the cursor to that.

Blender Animate Camera with Keyframes QUICK YouTube
Blender is Free and Open Source SoftwareDownload: https://blender.org/downloadSupport core Blender development - https://fund.blender.org--This tutorial is p.

How to use keyframes in blender YouTube
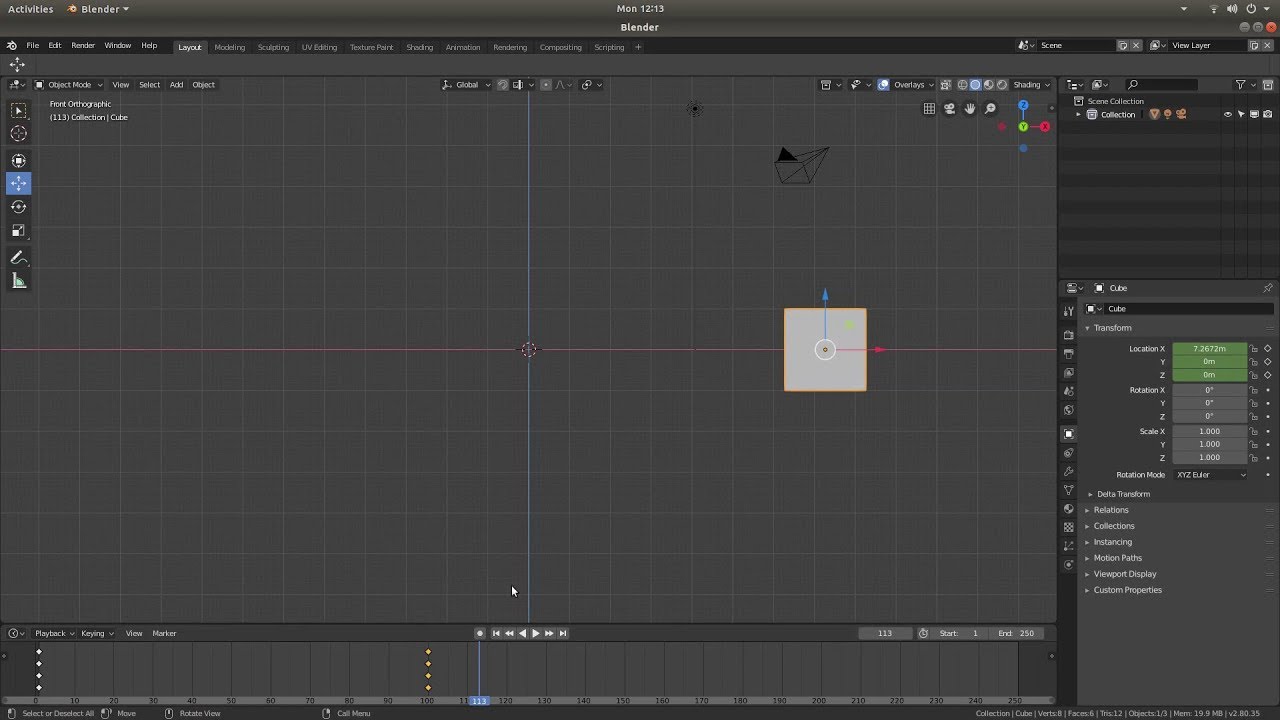
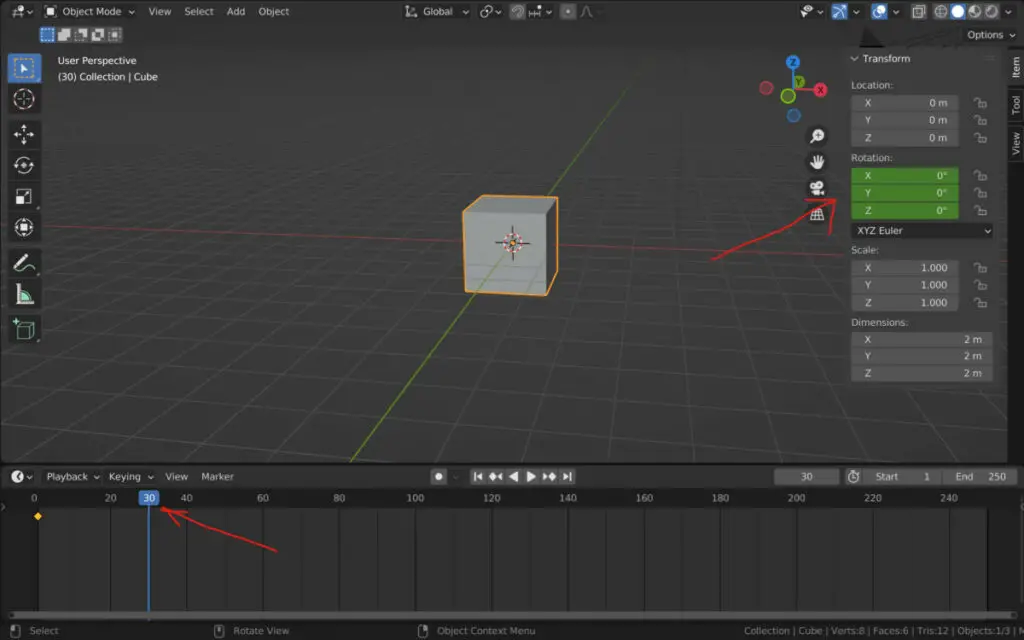
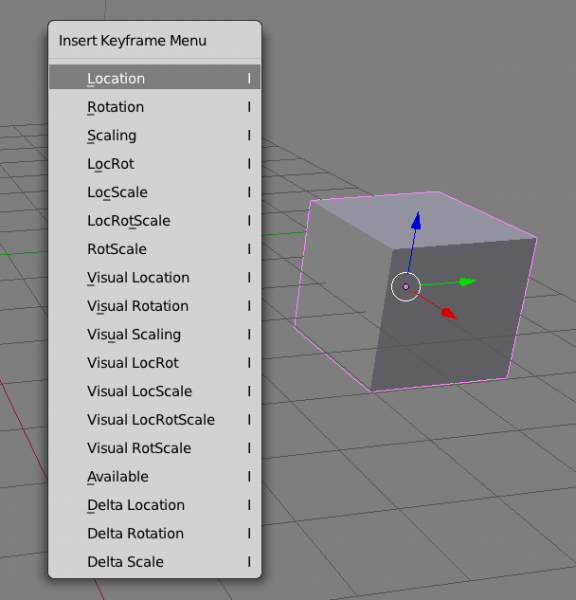
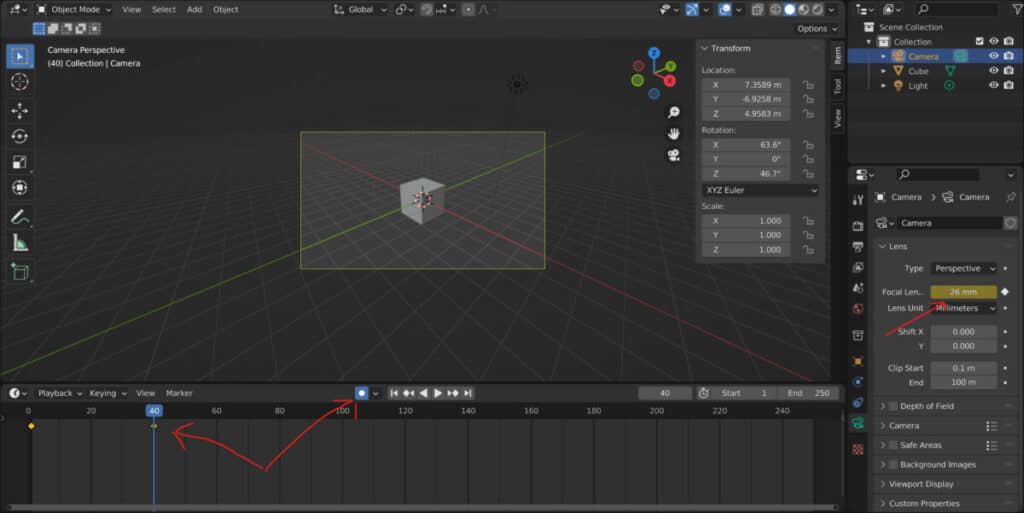
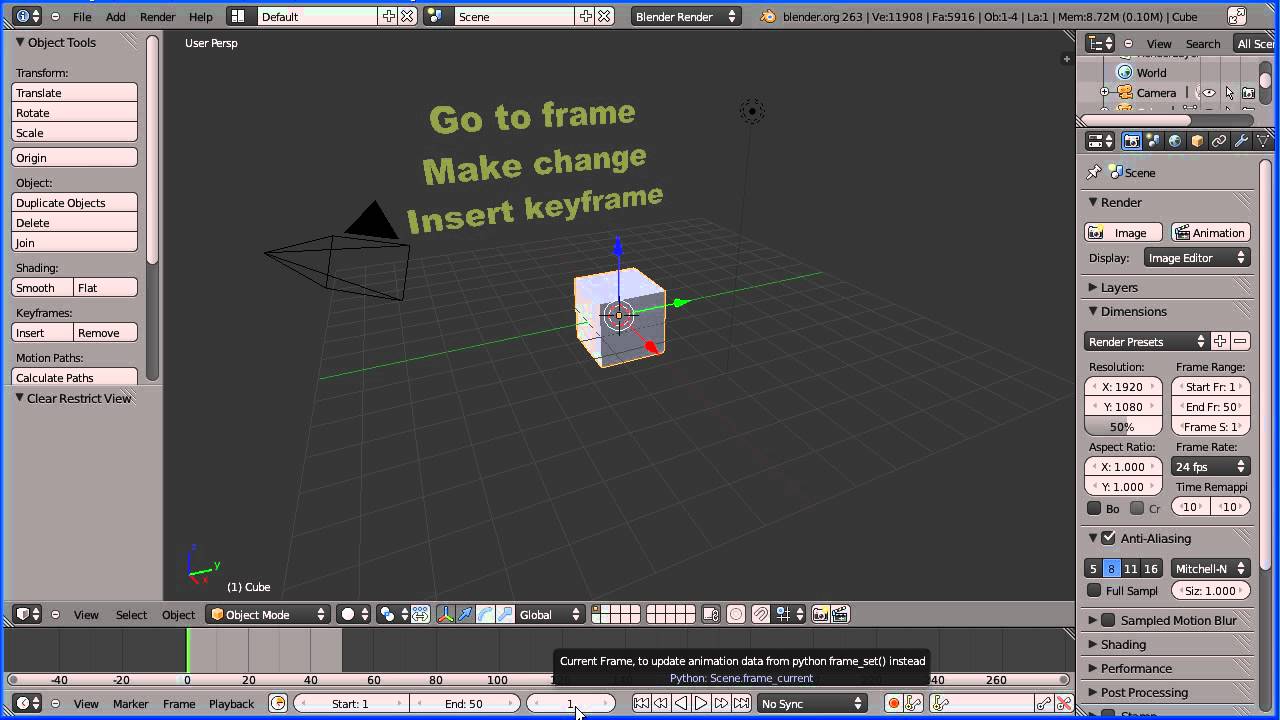
First Keyframes [edit | edit source]. Start by opening a new Blender document. Select the default cube. Ensure that the timeline is showing that you are at frame number 1. Press I , and choose "Location"; this will insert a keyframe at frame 1 which remembers the current location of the cube.Move the current frame (green line) away from frame 1, and you will see that there is a yellow line.

How to use keyframes for animation in Blender [2.83] YouTube
3 Answers Sorted by: 0 Assuming you have this animation: and now you want the same animation on another y-value you can do this: select your animation, press SHIFT-D to copy all keyframes, move it with your mouse where you want to have it and you get something like this: Now go to frame 1 and keyframe delta transform - location:
How To Create Keyframes In Blender? blender base camp
A: There are several ways to move a keyframe: -To move a keyframe, select it and drag it to the new location. -To move a keyframe more precisely, select it and use the arrow keys on your keyboard to nudge it in the desired direction.

Blender Keyframe Animation Basics YouTube
Keyframe Types; Handles & Interpolation Mode Display; Editing. Insert Keyframe; Delete Keyframes; Clear Keyframes; Editing Keyframes; Examples; Keying Sets. Keying Set Panel; Active Keying Set Panel; Adding Properties; Whole Character Keying Set
How to create keyframe animations in Blender JAY VERSLUIS
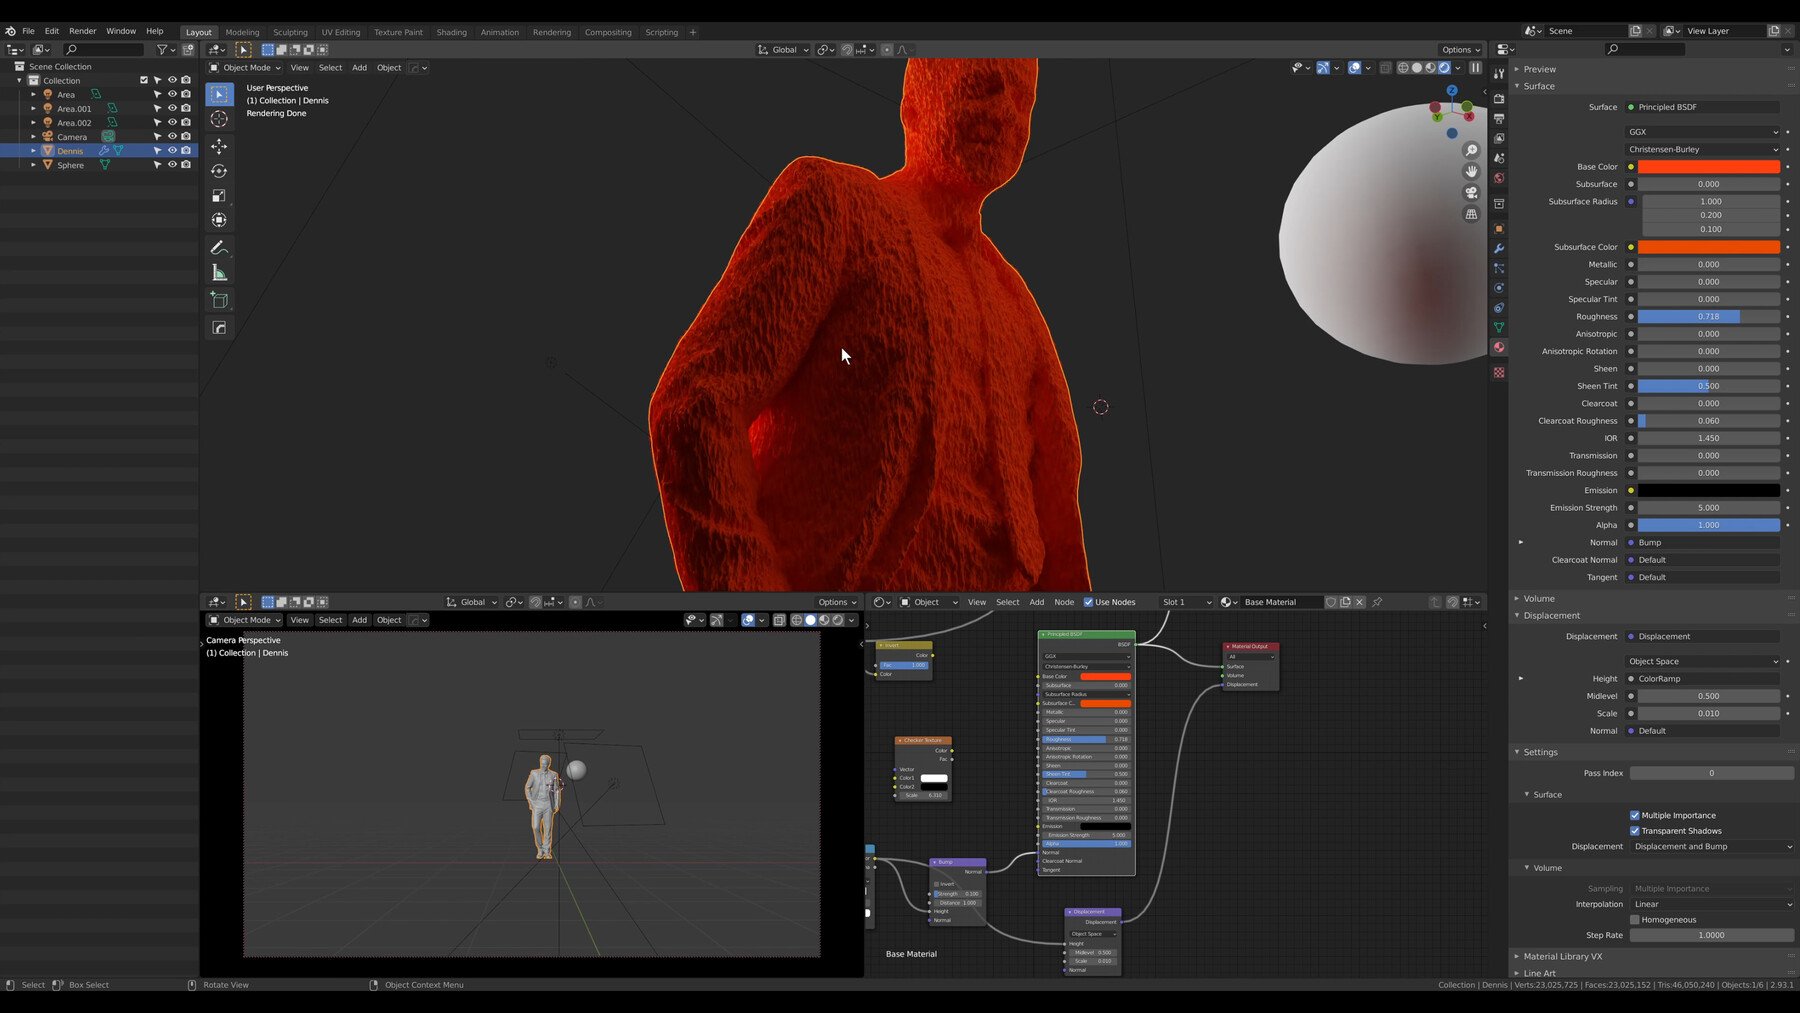
The easiest way to add a keyframe to an element in Blender is to locate the changeable value of the element, such as the Z rotation of the object, and press the I key to insert a keyframe at that current point.

How to add keyframe in Blender Blender Animation 2.91.0 Alpha The CG Dream YouTube
It is not possible to move keyframes directly in the timeline window. But in the dopesheet, you can select all the keyframes of an animated object at once, by click the top one, in the master channel : You can still box select with B like @Cosifa said, and move, scale, or duplicate them.
How To Create Keyframes In Blender? blender base camp
Shortcut: Alt-I There are several methods of removing keyframes: In the 3D Viewport press Alt-I to remove keys from selected objects on the current frame. When the mouse is over a value, press Alt-I. RMB a value and choose Delete Keyframe from the menu. Clear Keyframes Reference Mode: Object Mode Menu: Object ‣ Animation ‣ Clear Keyframes…
ArtStation Blender Basics + My 3D Cinematic Keyframe Process Tutorials
Keyframe animation is the basic way to animate in Blender 3D. We'll cover everything about key frames for beginners and advanced users. Let's go. Skip to content Brandon's Drawings Facebook Twitter Instagram YouTube Art Expand Renders Animations 13 Days of Halloween Learn Blender Expand 3D Modeling Expand Basic Modeling Tools
Blender Basic Animation Inserting Keyframes, Getting the Cube to Move (New Version) YouTube
Blender 2.80 Tutorial: How To Move Keyframes In The Timeline. Chipper Videos 22.1K subscribers Subscribe Subscribed 15K views 4 years ago Blender Beginners Tutorials How to change the.

Why Can't I See My Keyframes in Blender's Timeline? (Tutorial) YouTube
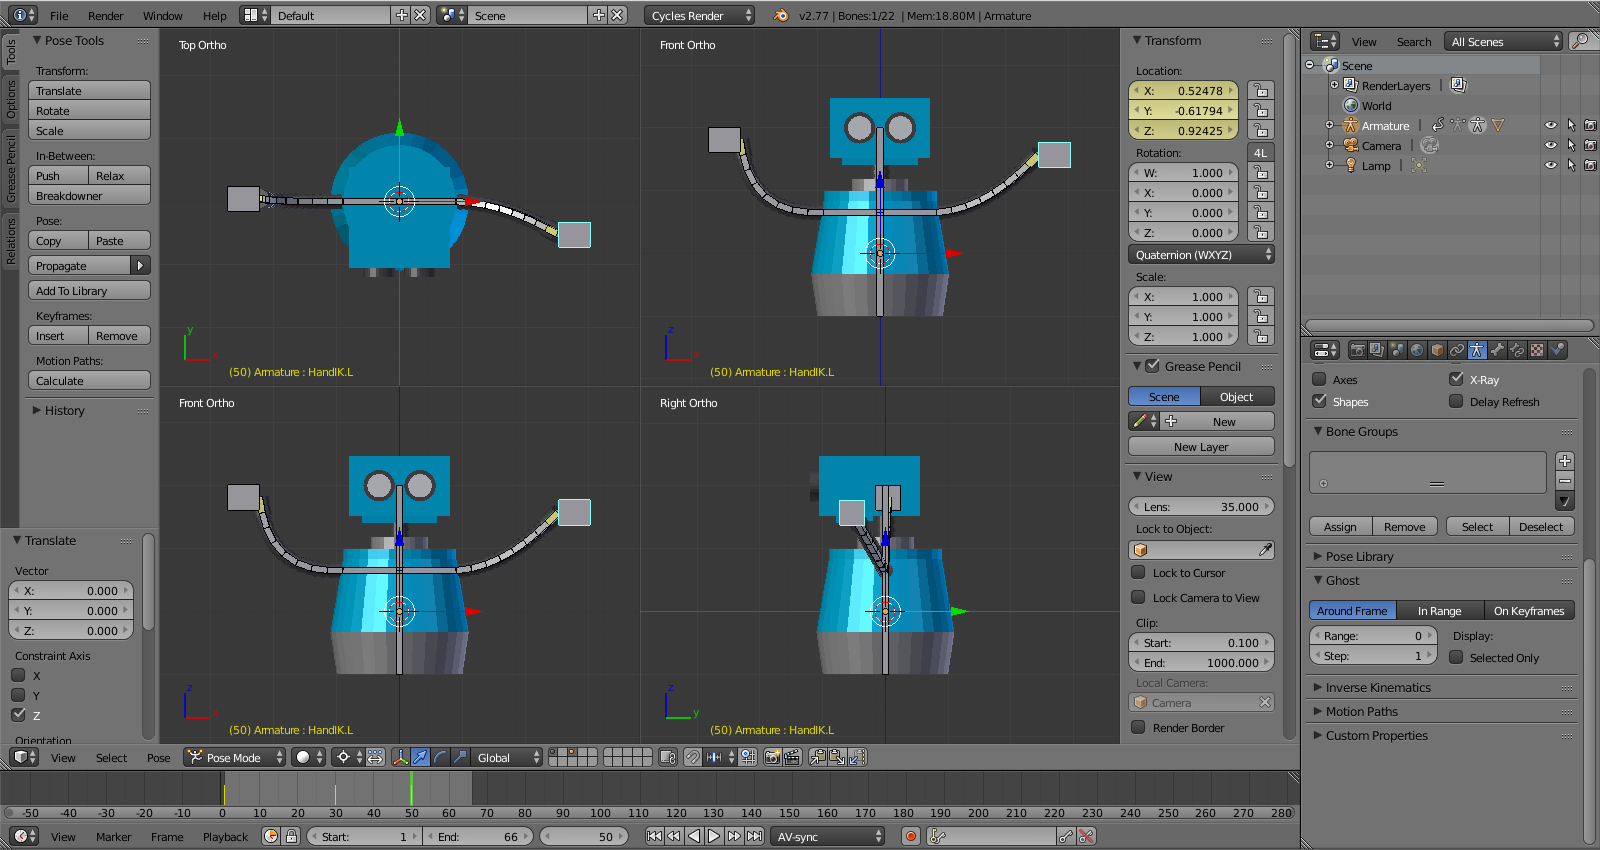
So, if you want to move only bones keyframes, in pose mode select all bones which you want to move, set the time cursor on frame 40, Ctrl click on the right side of the time cursor: this will select all keyframes after 40. Then press G and the amount of frames you need, then Enter.
Beginner Blender Syncing Animation to Sound with Keyframes in the Timeline
To set a keyframe, hover your cursor over the properties you'd like to save in this keyframe. For example, the location transform field in the currently selected object's properties. Simply hover, then press I on the keyboard. This will set a keyframe. If no keyframe is set, but the object is animated, the field will turn green.